




Showing posts with label Pinterest Inspiration. Show all posts

Thursday, April 3, 2014

Laundry Room Redo :: Modern Industrial :: For the love of Navy

Modern Industrial, is that even a thing? I don't know, but it's the best way I could think to describe our new laundry, which I LOVE!!

Since we've moved into this house, this room has been the bane of my existence. There's no way we could have expanded the room because of the layout of the house. Plus, tearing out walls and such isn't high on my husbands to do list. SO....I remodeled.

My biggest issue with this room was that I couldn't put a laundry basket in the room and open the washing machine at the same time, so all my baskets had to sit in the hallway. It was a major pain in the butt. So I had this whole plan about stacking the washer and dryer, adding countertop, etc, but the layout of the plugs wouldn't allow for that. (see my frustration with this room so far? It just won't cooperate!) Ultimately I decided to take out one of the existing cabinets and call it good because Chris (my husband) said that would be a quick easy solution.

Well.....it wasn't. Once we had the cabinets and the countertop ripped out, Chris kept adding things to the list like new tile, because that's so easy. Then, how about a new countertop, I asked, because this one really isn't very pretty. Next, Look Chris! Isn't this backsplash that goes all the way to the ceiling such a great idea? Oh yeah, and I totally need shelves.

Okay, I'll stop talking and get to the fun stuff. Here are the before and after pics!


Doesn't this just look like the saddest room ever?! And since it's the place I spend a ton of time, it needed to stop sucking.

Sweet hubby taking out cabinets:)

My hallway for the duration of the project. The price we pay for happiness.
Here's the tile that Chris picked, from Home Depot, naturally. As you can see, we still have a few things to finish up, baseboard, cabinet trim, etc. 

Again, this is another Chris pick, he liked the look of the industrial plumbing pipe instead of the regular pole. I like it too.

I'm not sure why this little guy makes me so happy, but he does! I keep my dryer sheets in it and it makes me smile.

Just a shot of the stuff on the cabinets. I've ordered a bunch of antique clothespins that I'm going to stuff in one of those glass jars, and I'm thinking about the other. Probably however, those shelves will end up with laundry sitting on them. The baskets are for the boys socks and undies. I've used those for a while and love them. I'm also working on a piece of artwork for that blank white wall, but haven't finished it yet.

Chris and I made this countertop. He bought 2x12's and I stained and finished them after the distressing. Then he put it all together and installed it. The shelves are made the same way. I painted the cabinets with 3 coats of Miss Mustard Seed's Milk Paint in Artissimo. LOVE IT!
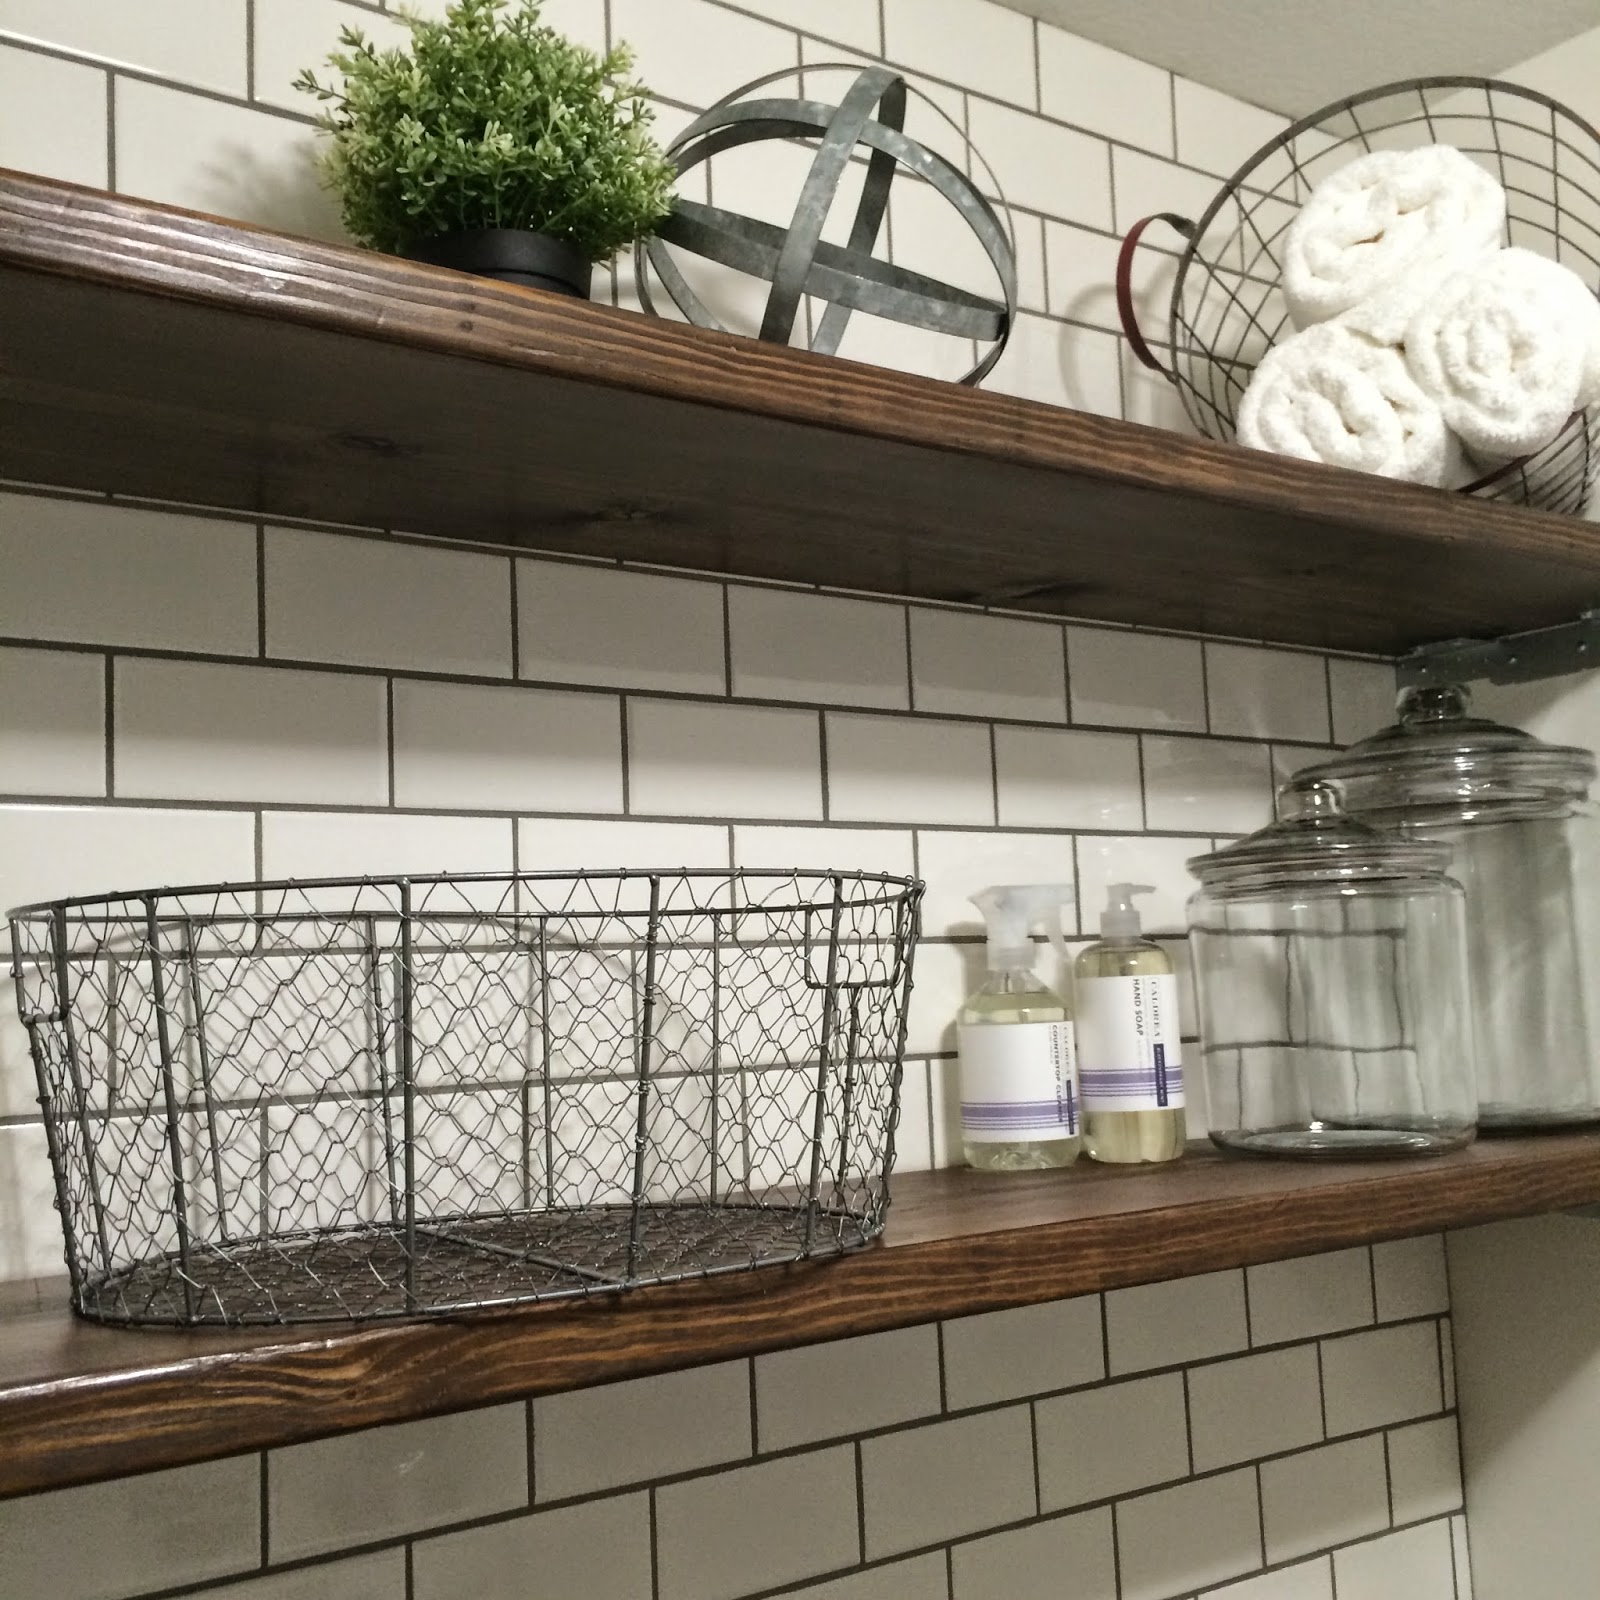

One of my most favorite things about the laundry room is the subway tile wall. I love the dark grout against the white tiles. I think it adds a little somethin', somethin'.


So that's pretty much all she wrote! It's brighter and more functional, and since it's completion, Chris has done all the laundry. Win/Win for everyone!:)

Tuesday, January 28, 2014

Oops, I did it again.....FreestyleMom's new etsy.com shop


So, if you know me, than you know when I see something cute my first thought is: I could make that.

Then, once I make it my second thought is: I could sell that.

I do not know what it is in my chemical make up that makes me want to start businesses, but I find something that I enjoy and I want to share it.

My next adventure is award holders. (I've also been thinking they would make really cute jewelry holders too, but that's for a different blog post, ha.) Chase needed one for his room to show off the results of his hard work. I looked all over and nothing fit exactly what I needed. Most of them were very colorful, which are fun, but didn't go with the actual décor theme of his room. So I made one, and I had a fun time doing it.

I know so many women who run marathons and kids who dedicate themselves to competitive sports, and I think it's so important to celebrate and show off our accomplishments!

Here are a few of the holders I've already created and put on my etsy page. https://www.etsy.com/shop/FreestyleMom

These are shown without the hooks installed. We will send the hooks separate so that there is no damage during shipping, but the holes will be predrilled so it's easy to twist the hooks in.

https://www.etsy.com/shop/FreestyleMom

https://www.etsy.com/shop/FreestyleMom
The gold on these boards is awesome in real life. I mean, who doesn't love gold??? I've been infatuated with it for a while now and have a splash of it in pretty much every room!


Please check them out and pass them on to anyone you know who runs, swims, or plays any sport that will bring home bling.

I am all about custom orders, so if there is something special you have in mind, just let me know!


Monday, January 27, 2014

Award Shelf Tutorial::Oxygen is Overrated

My fifth grade son started swimming competitively since we moved to Minnesota last November. Since then, he's earned quite a few ribbons and we need a place to show them off! He's had this one blank wall in his room forever because I haven't known just what to do with it. Now I know!
 
So here's how I built the ribbon holder and shelf. I had my husband bring home a few things from Home Depot:
  • 1x10x6 cut in half, then one of those pieces ripped down the middle. So now I have a 1x10x3
 and 2 1x5x3.
  • A few miscellaneous pieces of Simpson Strong Ties to add the "metal" to the shelf and serve as the shelf brackets
  • 1 small can of stain
  • 1 pkg of screw in hooks (mine came with 8 which worked out perfectly)
  • 1 pkg of screws
  • 1 pkg of saw tooth picture hangers

Once I stained my two boards and left them to dry, the hard part began. I CANNOT free hand anything. So I looked online for how to make a stencil. You might already know how to do this, or have stencils that you love. I did not. So...I found this website called RapidResizer.com and they create stencils for you to print off and cut out. You could actually do this with any printed font, but since it was my first time, I used their site. The only limitation to this site is that it prints everything to fit a standard piece of printing paper. So if you split up your words, it can be difficult to get them the same size from one sheet to the next.

The picture above shows one of my words cut out using a plastic sheet protector I had in one of my drawers.
 
Below it the printed out and traced around paper that RR gave me. I had to take the middle of the O and the E's and tape them onto the board to work them into the stencil.
 
And if you're wondering, no it wasn't hard, but yes it took a while and yes my hand cramped!


Here is the board once I placed my stencil and blotted my white paint onto the board. I didn't take any pics of the actual painting, sorry! You can see in the very first picture that the painting isn't perfect, but I think it looks great for making a stencil out of a sheet protector. Besides, in this house: We don't do perfect!

Next I lined up my little screw in hooks every 4 inches (that worked out nicely).
Then, I got a little ADD and a little excited about the "hardware" so, I abandoned the little hooks and started screwing in my strong ties. I just love the look these give to the shelf. Very industrial.

Next, I screwed in the little strong ties to use as my shelf brackets. They worked great and were easy to install. I attached the shelf to the board and then went back to my little hooks.
 
I used my exacto knife to put a little dot where each hook should go, then I just twisted them in. Very easy.

I put 2 picture hangers on the back and I'm about finished.


I recruited my husband for hanging the shelf because I hate doing it. Not really sure why, but I just like to watch him do it:).

And there it is. Every time I walk by Chase's room I see it from the door way and am very pleased with myself, HA!

Chase loves the shelf and is already pumped to get to his next meet and try to bring home some more ribbons!


Tuesday, June 4, 2013

Guestroom Redo

I have wanted to make this head board for a while now, but I had to wait on my husband to do some cutting for me.  I can use a few power tools, but some (like the jigsaw and circular saw) are best left in the hands of the more experienced.
 
I'm sure I could figure it out, and maybe one day I will, but for now, I'm happy to have my husbands help.
 
So, I found the shape I wanted on pinterest and had a piece of OSB cut down to size for a full bed. (about 56 inches.  I wanted it to go a few inches past the bed on each side.) They did this at Home Depot for free.
 
Cost of OSB and 2 2x4's: $15
 
 
I was originally going to put foam in the middle of this and create a border with nail head trim around the "puffy middle".  But I decided to go a different route after looking online at some other designs.  But, I still needed the extra depth the 2x4's gave me on the sides so that I would have something to hammer the nail heads into.  The OSB wasn't thick enough for that.  I like how thick this is with the 2x4's, but you could use 1" dimensional lumber as well.

 
I covered the 'new' front with batting.  I got the batting at Joann's.  It was a queen size batting roll.  I had thought about double layering, so I wanted to have enough.  I went with one layer instead.  Two layers would have been too thick for my staples after the fabric was added.  And I was concerned that two layers would make my corners less sharp-looking.
 
Cost of batting: $14 (I downloaded the Joann's app while waiting in line at register and got a 40% off coupon)

 
After stapling the bejesus out of the batting, I laid out the fabric face down and aligned my board on top.  I recruited the help of my ten year old for the remainder of this project.  It was just too much for one set of hands.
 
I stood it up to staple the fabic.  That's why I needed help holding it up so I could staple.  The fabric wouldn't have been as smooth looking if I had kept it lying down.
 
This fabric is actually a curtain that I found at World Market.  I new I wanted dark green velvet, but I couldn't find it at any fabric stores, and when I saw these, I knew they were perfect.  But, there was only one left!
 
Cost of fabric: $17

 
The fabric was like 1 inch too short to wrap around the edge of the 2x4.  I know, you would think that I would measure the fabric first and then cut my board, but that's not how I do things.  I rarely do things in the correct order, I just get too excited. 
 
And, asking my husband to cut down the board another inch was soooo not happening.
 
So I took my seam ripper and undid the seam.  Then it fit perfectly.  Thank God for seam rippers!! They are my favorite tool, especially since I tend to make this stuff up as I go, therefore making a lot of mistakes along the way:)

 
I got too involved in the next few steps and didn't take enough pics, but basically I stapled and stapled and stapled till my hand cramped.
 
Getting the fabric flat around the curve was difficult work.  I think I may have thrown out a couple of inappropriate words.  At least that's what my ten year old said.  I don't remember, I was too busy tugging and stapling and sweating and tugging to pay attention.

 
After getting the edges as smooth as I could get them, taking a minute to cool down and apologizing for my scaring my child, I added nail head trim to the edge. 
 
I read several blogs that said using individual nail heads was much nicer than the trim. (which is like a metal rope of nail heads that you only have to hammer in every fifth head)  I agree that it would be more consistent to use individual heads.  The color of the nail head that you hammer in is just a tad bit different from the rest.  And if I weren't so lazy and impatient, I would have purchased individuals.  But I am impatient, and I wanted to do this as inexpensively as possible.
 
So, I used the trim instead.  It was the easiest part of the whole project.  In fact, I had several feet left over and walked around my house looking for something else that needed nail head trim.
 
Several little things ended up with trim, whether they needed it or not, just because I could.  :)
 
Cost of trim: $8 (again, because I had the app coupon)

 
And here it is all put together.  I made the bed skirt and four of the pillows.  I'm having my mom bring up another curtain that she found at her local World Market for the real bed skirt.  This is just some fabric that I had to use in the interim.  I used the cut-offs of the curtain for the edges of the skirt.


Sorry the pics aren't great.  I used my iphone.  Not a great photographer here!  That is definitely on my to do list, take photography class.  

 
Right now the head board isn't attached to the wall.  It's sitting on a couple of 4 inch boxes that I had lying around.  I had wanted it taller, but hubby has yet to get around to that.  He seems to think it looks fine as it is, go figure.  But, I eventually would like it to sit up a bit taller. 
 
So total cost of head board: $54  
 
Yay!  And it's exactly what I wanted.  Hope this was helpful, it's my first blog project.  Next time, I'll take more pictures.
 
I'ld love to hear what you think and if you have any projects you're working on!!